At GeniusDV, we are excited to announce new affordable training options for all courses that Avid Technology offers.
You can take the interactive courses at your own time 24/7 over a 3 month period and save your progress. Plus, the core Media Composer and Pro Tools Courses come with additional LIVE One-On-One Training, with the opportunity to become certified!
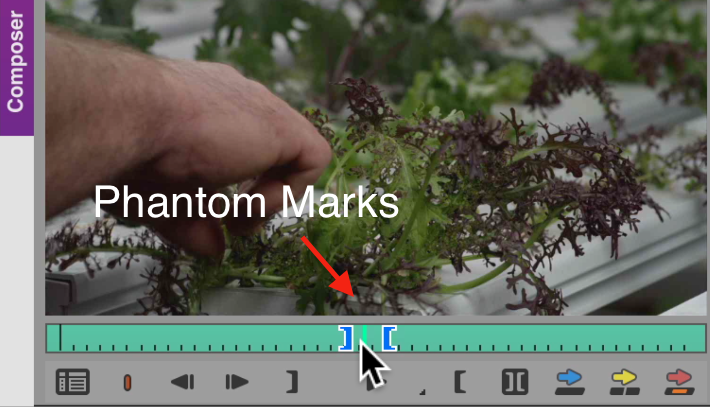
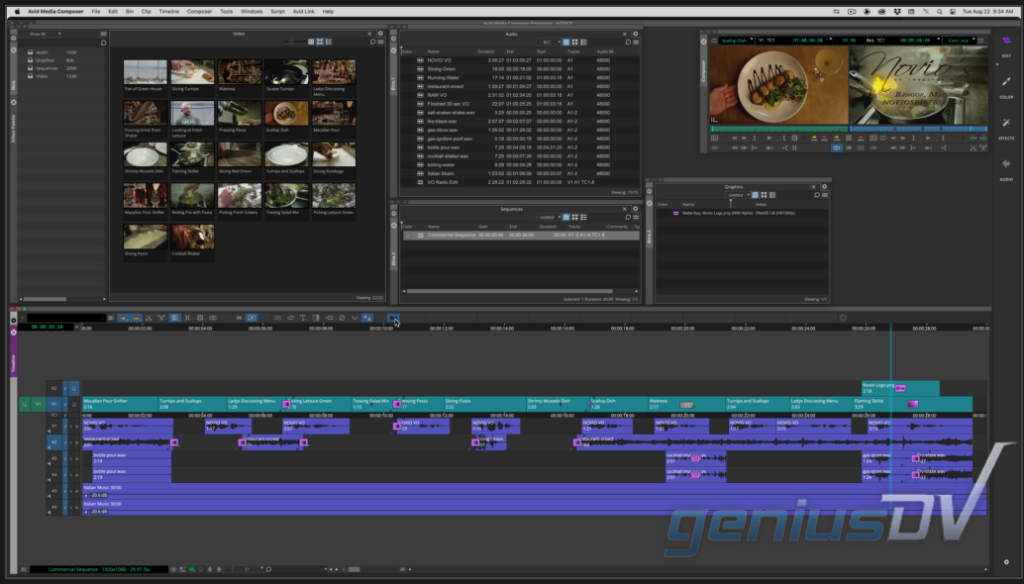
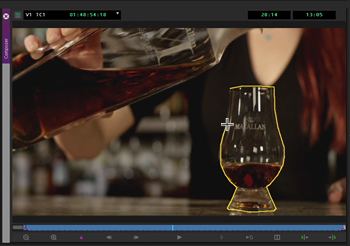
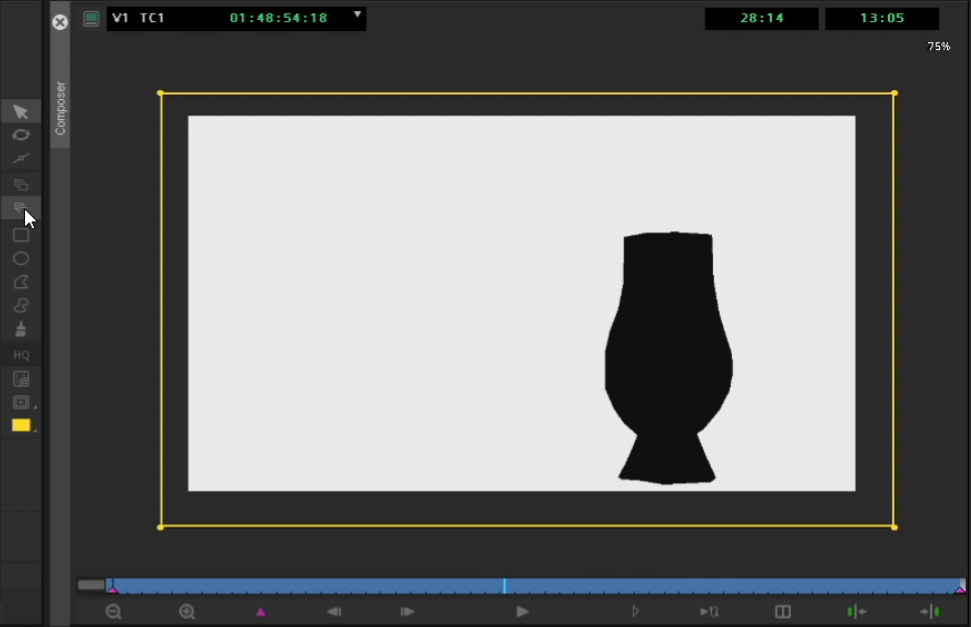
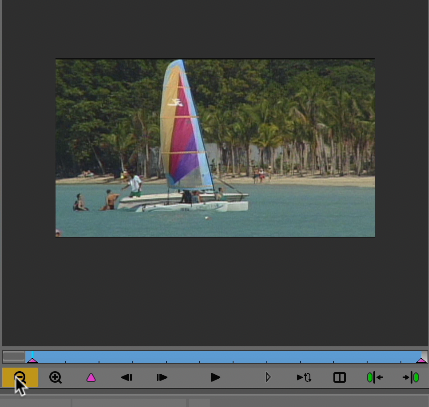
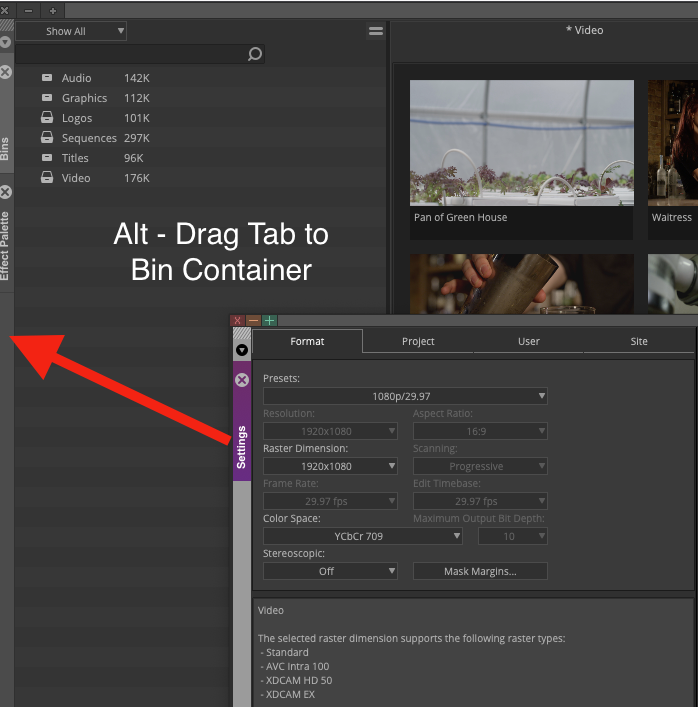
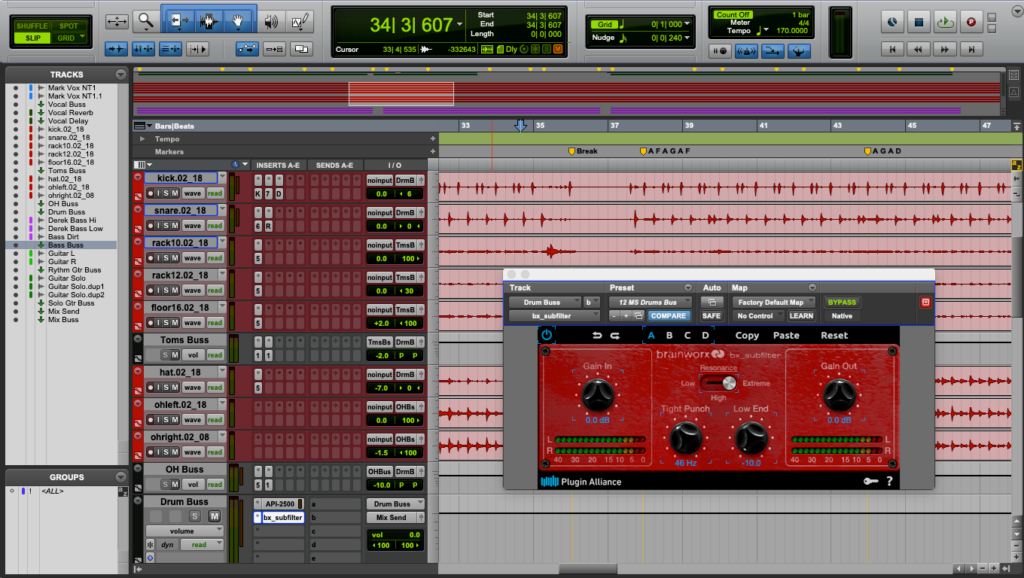
Click on the Screenshot below to watch a short video that was edited all within Avid.
It’s doesn’t matter which course option you pick, you can request access to Avid’s 800+ hours of remote interactive content! No Extra Charge!
Course Pricing
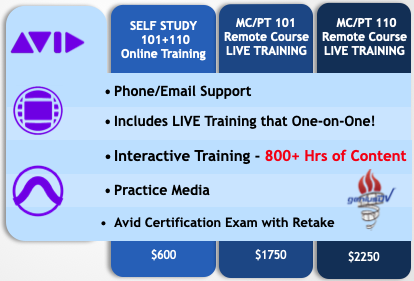
Core MC-PT Courses Include:
- Phone / Email Support
- Interactive Remote Web Training
- Live One-on-One Training also Included!
- Practice Media / Practice Exams
- Pro Tools / Media Composer Certification Exams(s)
The great thing about these courses, is that you take take them at your own pace (24/7) with the ability to save your progress. And, remember LIVE One-On-One Training is also provided.
Media Composer Self Study Course Options
Media Composer (MC 101-110 -120)
Pro Tools Self Study Course Options
Pro Tools (PT 101, 110, 201, 210M, 210P)
You will also have access to the following courses: