
With Media Composer Ultimate, is easy to isolate colors and/or change color hues without having to export to DaVinci Resolve, After Effects, or another third party software product.
Here’s is the YouTube Video for this Media Composer Color Correction Tutorial. If you enjoy this tutorial, please subscribe to our Media Composer YouTube Channel.
Edit a clip to a new sequence that has an area of Color that you would like to protect or change.
Then, start by click off to the right side of the screen by clicking on the Pre-Built Color Correction Workspace.
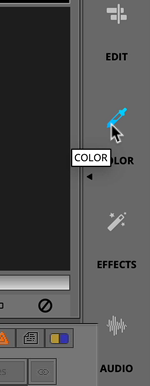
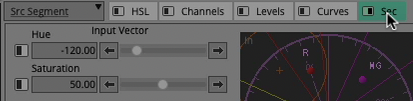
Then, click on the Secondary Color Correction Tab (Sec).
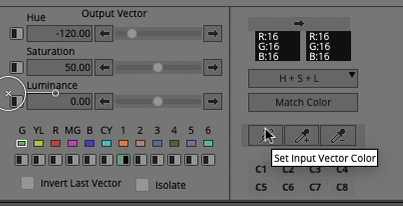
Next, click on the Input Vector Color Icon
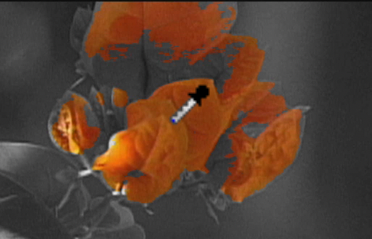
Then, use the ‘Vector Icon Stabber’ to select an initial color of a hue area that you would like to change.
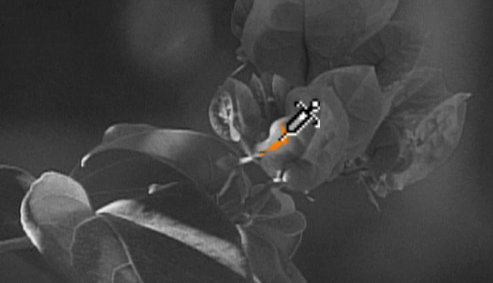
You may notice, it selects only a small range of color. Don’t worry. This next step is to click on the Add Color to Input Vector Icon.
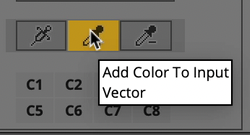
Click on nearby areas using the Add Input Vector Dropper until you’re happy with the selection.
If you need to remove Color Ranges, use the Subract Color from Input Vector

By default Avid Media Composer will isolate the selected color range, which means the rest of the image will be black/white.
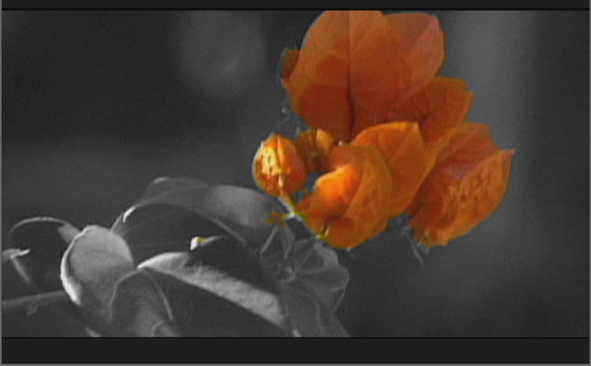
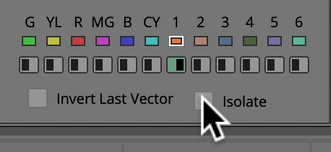
Uncheck the Isolate Color Check Box
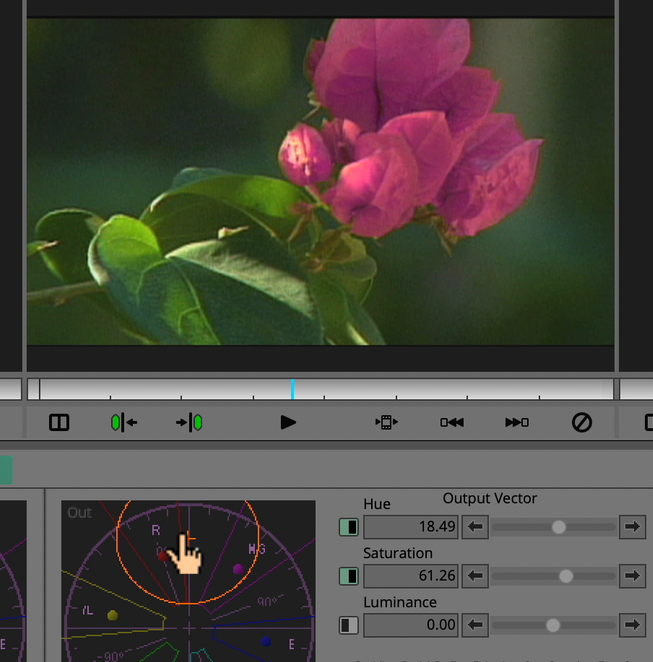
Now you can adjust the Output Vector to a different Hue, while persevering the rest of the video image.
If you enjoyed this tutorial, please subscribe to our YouTube Channel, or consider taking an Avid Certified Media Composer Course.