GeniusDV will be attending NAB again this year! Please reach out to us if you would like to network with us. Click on this link (logo) to enroll for free. A $159.00 value!
Meet us at the Blackmagic Design Booth in the North Hall, booth N2530. We are excited to be the only avenue in the U.S to offer all their 6 Certified DaVinci Resolve.certifications.
We would love to network with you. Just give us a call! We have a private area that offers breakfast, lunch, and open bar from 4-5pm.
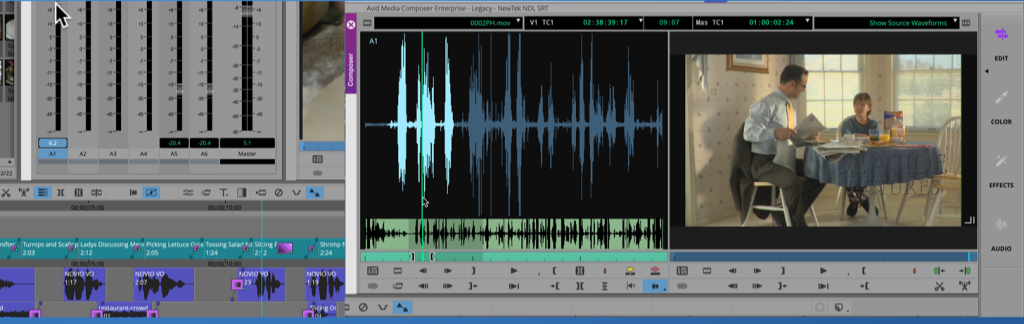
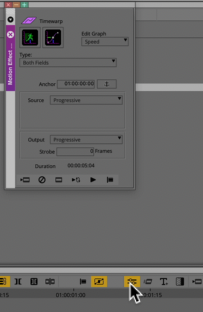
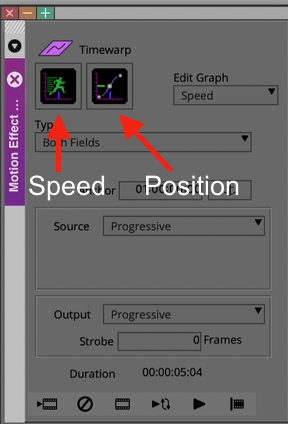
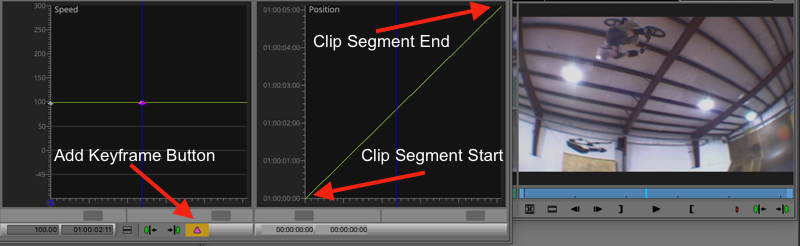
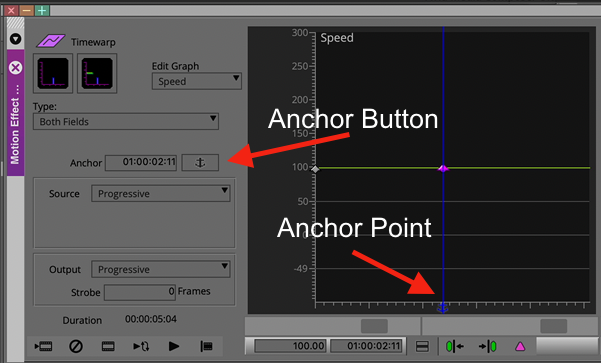
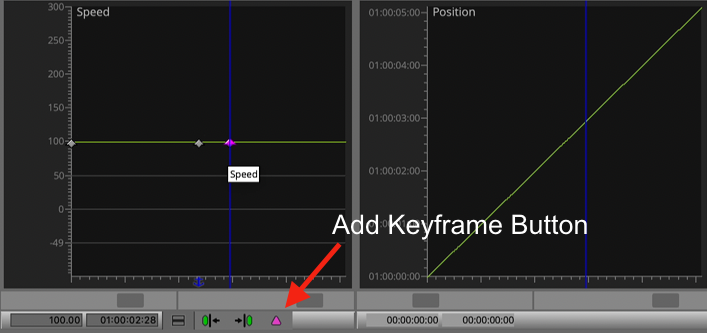
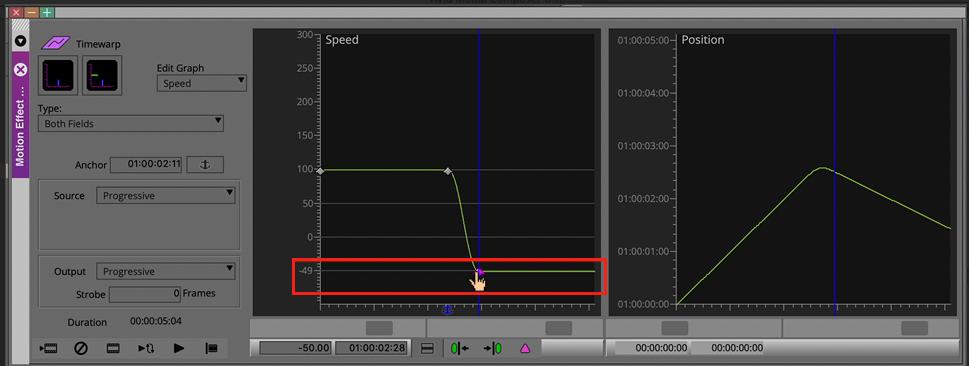
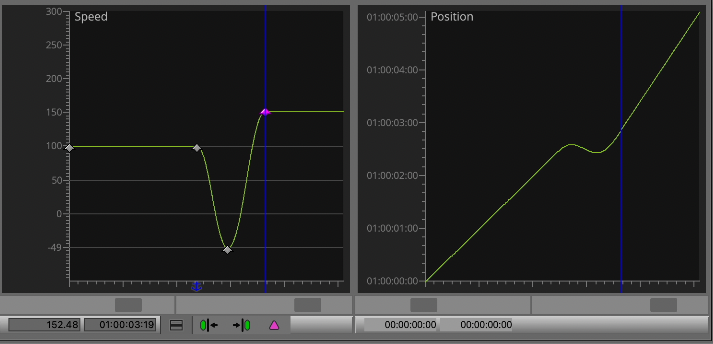
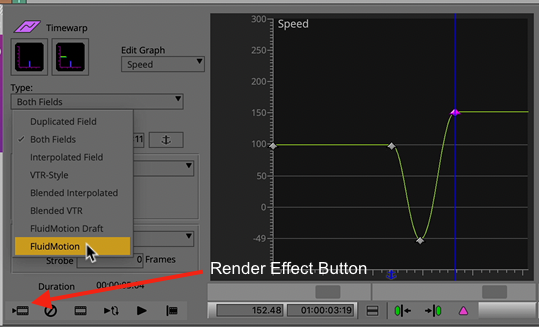
Check our newest Demo Reel for learning all the Davinci Applications below.
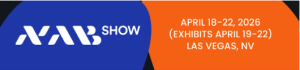
For the 2026 NAB Show (April 18–22, 2026, in Las Vegas), you can use the guest pass code NS5874 for free access to the Blackmagic Design exhibit. The event will feature live demonstrations of DaVinci Resolve, Blackmagic URSA Cine Immersive, and PYXIS 12K cameras.
- Free Exhibit Pass Code: NS5874 (via Blackmagic Design Facebook post).
- Alternative Pass Code: EM01 (covers show floor and discounts for other passes, valid until January 31, 2026).
- Show Dates: April 18–22, 2026
Make sure to register on the official NAB Show website and enter the code in the appropriate field to receive your free exhibit pass.